Field stripping and cleaning a Glock can seem like a daunting task, but with the right tools and a little know-how, the process takes less than 15 minutes. Digging through the owner’s manual is a little on the dull side and sometimes doesn’t get you where you need to go, which is why Guns.com is here to help. We’ve broken the process down step-by-step to ensure you get the cleanest Glock on the block.
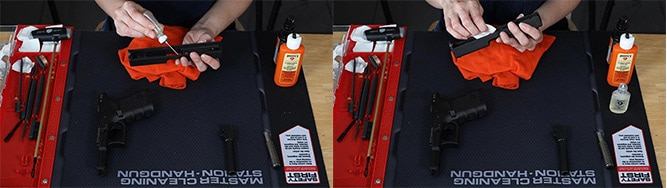
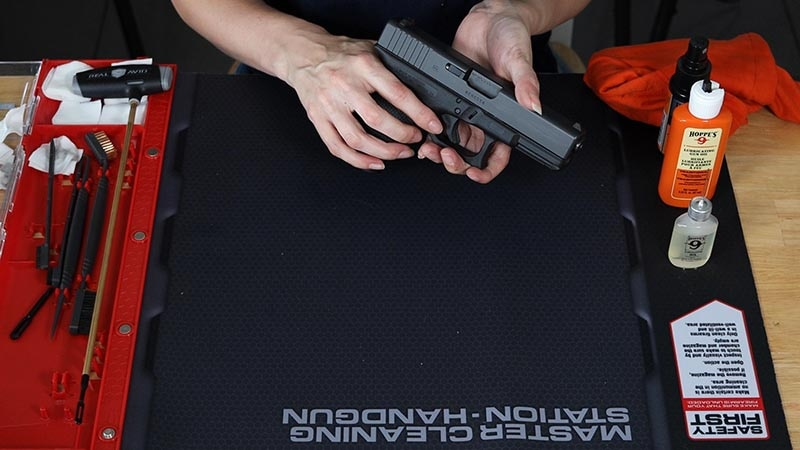
Luckily, all Glocks break down the same way so no matter which model you’re sporting you can follow along with these procedures. First thing’s first, we need to lay out our tools to get the job done.
Steps to Clean a Glock
- Remove ammunition and mags and clear the gun
- Takedown the Glock
- Remove barrel and guide rod
- Cleaning the guide rod
- Cleaning the barrel
- Cleaning the slide
- Cleaning the frame
- Lube it up
- Reassemble the Glock
- Storing the Glock
Tools You’ll Need
- Cleaning mat or surface to clean gun
- Cleaning patches
- Cleaning rod or bore snake
- Nylon bristle brush
- Rag/old t-shirt for wiping down parts
- Gun cleaner (brand does not matter so long as it is made for gun cleaning)
- Gun oil (again, the brand doesn’t matter but stick with oil specifically made for guns)
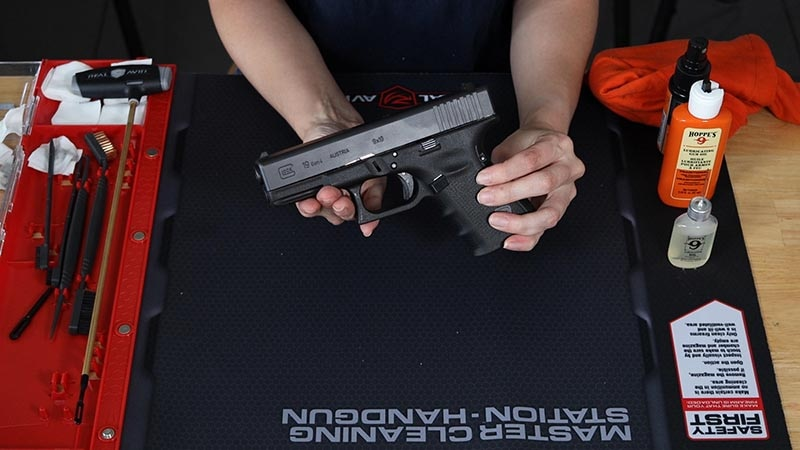
Now that we have our tools assembled and our gun mat rolled out, let’s dive in.
1. Remove ammunition and mags and clear the gun
The first step in cleaning any gun is to make sure it is unloaded and all ammunition is stored away from the cleaning area for the remainder of the cleaning process. Remove the magazine and lock the Glock’s slide to the rear, ejecting any live ammo from the chamber.
Empty the magazine and remove all ammunition from the room. With the slide locked back, visually check several times that the gun is unloaded and no ammunition is present in the chamber or magwell.
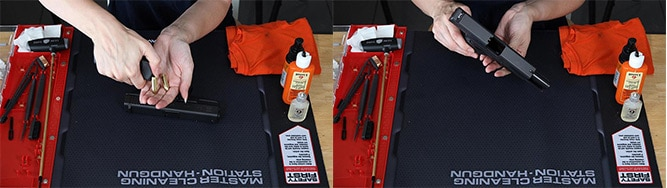
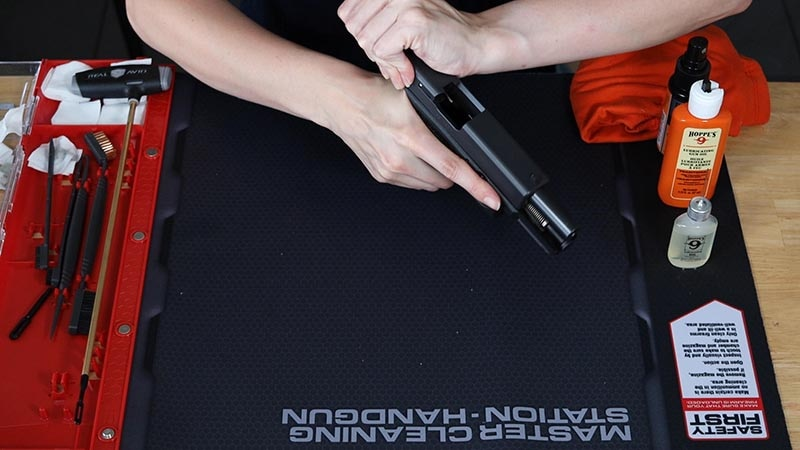
2. Takedown the Glock
Once absolutely certain the Glock is unloaded and cleared of any and all ammunition, let the slide down. To take down a Glock, you must first pull the trigger which is why it is imperative to be absolutely sure there is no ammunition in or near the firearm.
Since we cleared the Glock properly in step one and visually confirmed it is unloaded, point the Glock in a safe direction. Pull the trigger. Move the non-dominant hand to the rear of the slide and pull back on the slide slightly. Simultaneously, use the dominant hand to grasp the takedown buttons on either side of the Glock and pull down, releasing the slide lock.
Slowly rock the Glock forward and off the rails. Set the polymer frame aside.
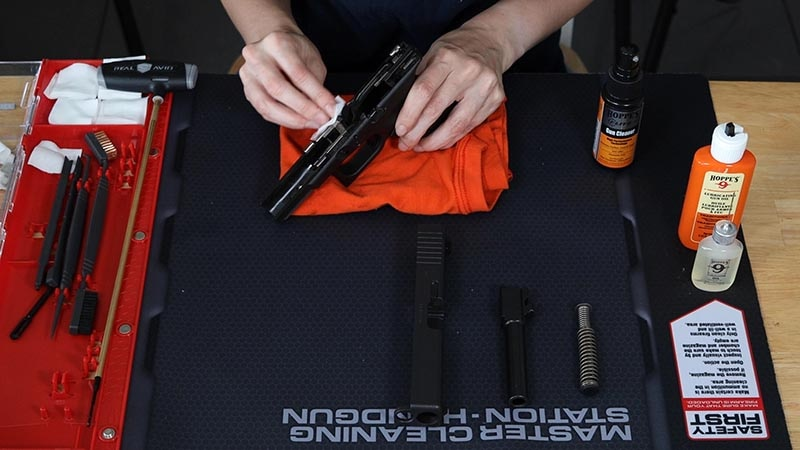
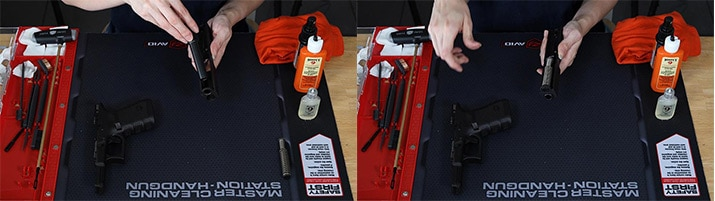
3. Remove barrel and guide rod
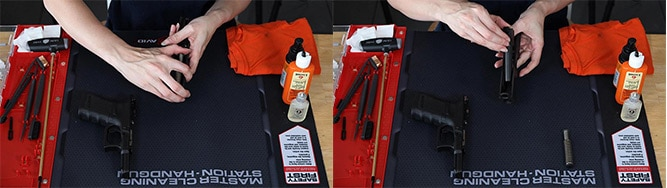
With the slide in hand, use your thumb to apply slight pressure forward and up to the guide rod to release and remove it. Then pull the barrel up and out of the slide. At this point, we have the four major components of a field-stripped Glock before us — the frame, guide rod, barrel, and slide.
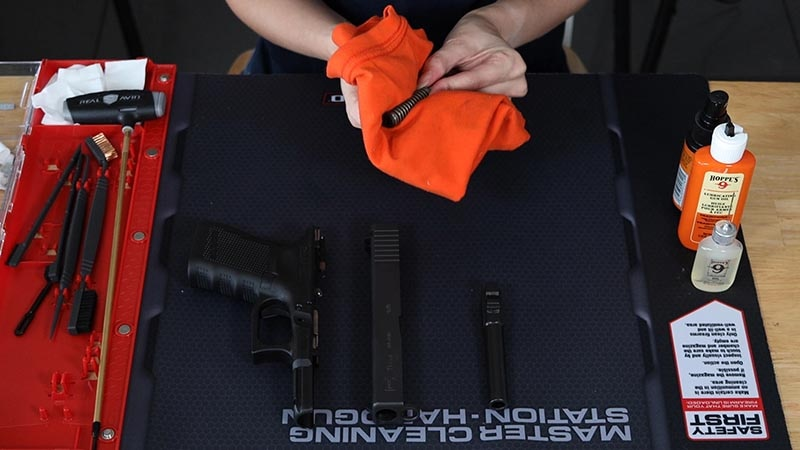
4. Cleaning the guide rod
Tools: Cleaning patches, nylon bristle brush, dry rag
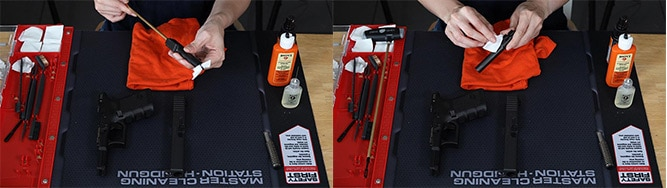
5. Cleaning the barrel
Tools: Cleaning patches, gun cleaner, dry rag, nylon bristle brush
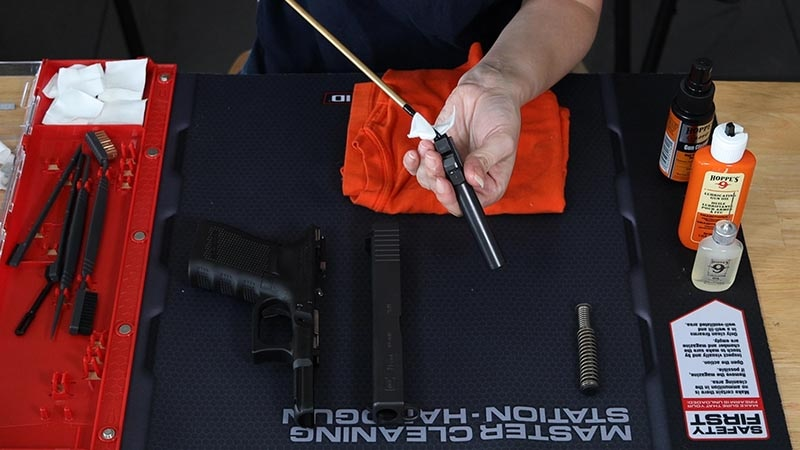
The barrel sees a lot of action and therefore accumulates quite a bit of buildup. Start by wetting a cleaning patch with gun cleaner. Thread it through a cleaning rod. (Alternatively, you can use a bore snake instead of a cleaning rod.)
Working from the chamber end, move the cleaning rod back and forth through the barrel a few times to loosen grime and buildup. Remove the dirty patch and replace it with a clean, dry one. Run it through the barrel again. If it comes back black, give it another pass with a moistened cleaning patch. If it the patch is clean, move on to the exterior.
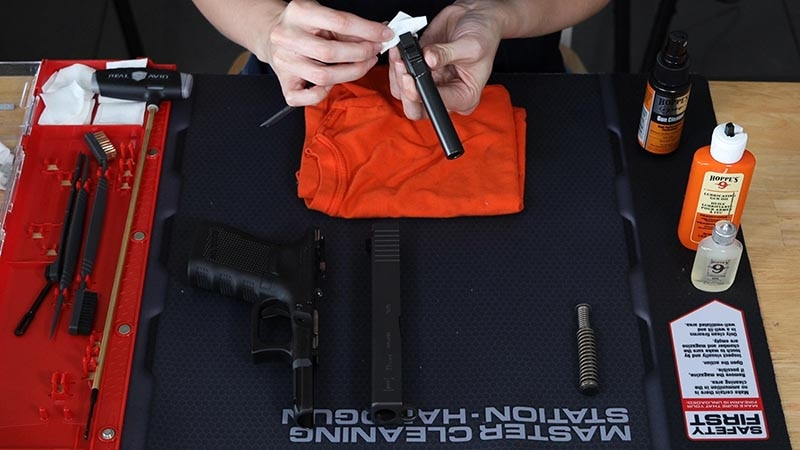
To clean the exterior, wipe it down with a wet cleaning patch then go back over it with a dry one. Do this until the dry patch comes up clean. If you need to use a nylon bristle brush wrapped in a cleaning cloth to release some stubborn carbon buildup, feel free to do so. Give it another pass with a dry cleaning patch. Before we set aside the barrel this is a good opportunity to check for any flaws. Look for bulges or cracks in the barrel. If you see something that isn’t quite right, contact a gunsmith.
Once the barrel is clean and we’ve verified it looks free and clear of bulges or cracks, set it aside.
6. Cleaning the slide
Tools: Cleaning patches, gun cleaner, dry rag, nylon bristle brush
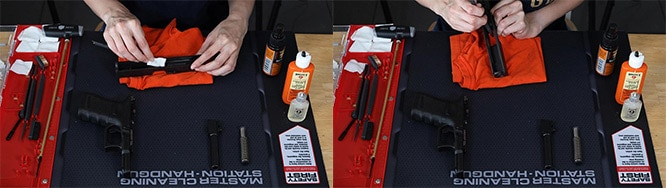
When tackling the slide, remember that the rails see the most action so concentrate your efforts here. Use a combination of cleaning patches and a nylon bristle brush to clean the area around the rails. Wrapping a cleaning patch around the brush, scrub the rails, loosening buildup. Take a clean patch to the rails to confirm it’s free of grime.
Tilt the slide so that the muzzle side is facing down. Using the bristle brush, brush the breech face. Once finished, take a dry cleaning patch and wipe the area down. Again, this is a good opportunity to look for bulges or cracks in the metal. If you observe any abnormalities, contact a gunsmith.
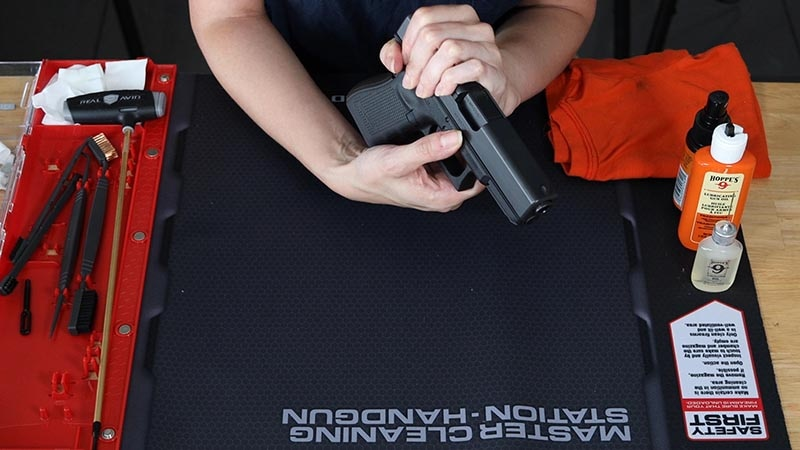
7. Cleaning the frame
Tools: Cleaning patches, gun cleaner, dry rag, nylon bristle brush
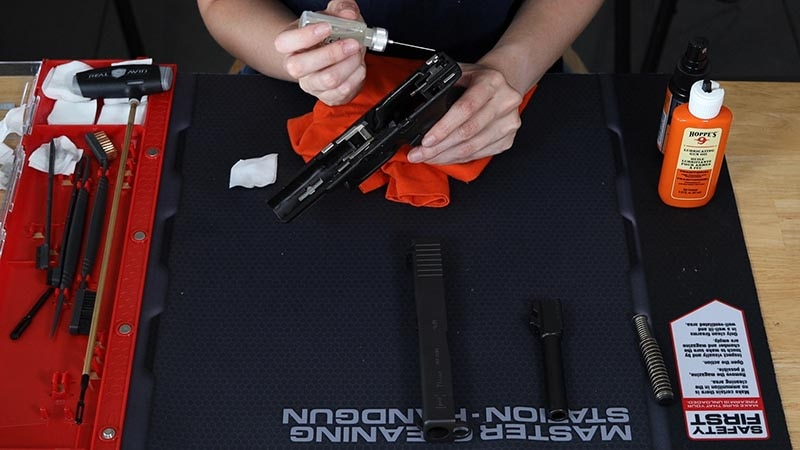
8. Lube it up
Tools: Cleaning patches, gun oil
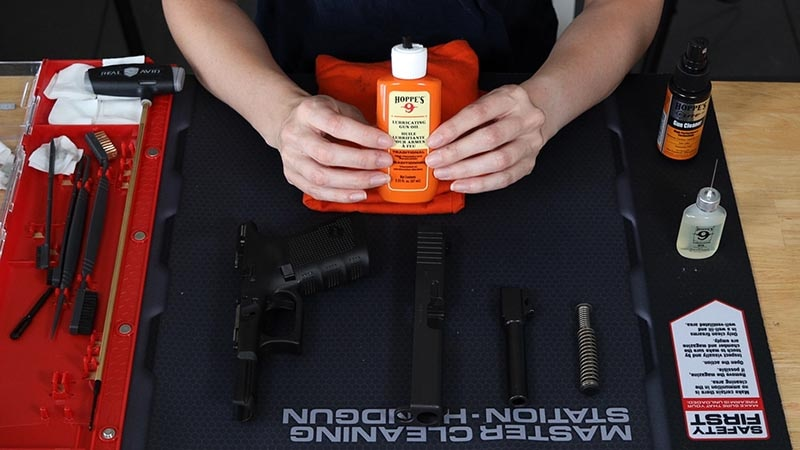
The guide rod doesn’t need any lube, so we skip on to the barrel. Add a little gun oil to a cleaning patch, thread it through the cleaning rod and give it a couple of passes through the barrel. Then take a dry patch, thread it through the rod and give the barrel a couple of swipes to soak up any excess.
From there, take a cleaning patch with a little lube and wipe the exterior. Follow that with a dry cleaning patch to soak up the excess.
(Photo: Jacki Billings/Guns.com)
On the frame, spread a drop of lube down the rails and use a dry patch to clear the area of excess lube. Also, add a drop of lube to where the trigger bar touches the connector at the right rear of the frame. You guessed it, wipe up the excess with a dry cleaning patch.
9. Reassemble the Glock
Tools: Cleaning patches
Perform a trigger function test by first ensuring the action is clear and the gun is pointed in a safe direction. Pull the trigger. Cycle the slide, then test the trigger safety on the trigger. Press the side of the trigger, being careful not to press the safety on the trigger. The trigger should not engage.
10. Storing the Glock
The Glock is officially clean, lubed up and ready for action. If you are carrying, go ahead and load it up and place it back in your holster. If you are storing it long-term, make sure it’s tucked away in a safe or locked area that is dry and free of moisture.