1. Clear Ammo From Your Gun & Cleaning Area

First, make sure the revolver is safely and completely unloaded. To be sure you have all the ammunition accounted for, inventory the number of rounds you remove and account for any that are missing.
Related: 5 Tips for Better Ammo Storage – Save Money & Make Life Easier
This is particularly important for revolvers, which can sometimes fail to extract all the rounds from the cylinder — I’ve seen it happen. Remove all brass and ammo from the room in which you are cleaning the revolver to ensure it doesn’t somehow wander its way back into a cylinder before you are ready.
2. Gather Your Cleaning Supplies
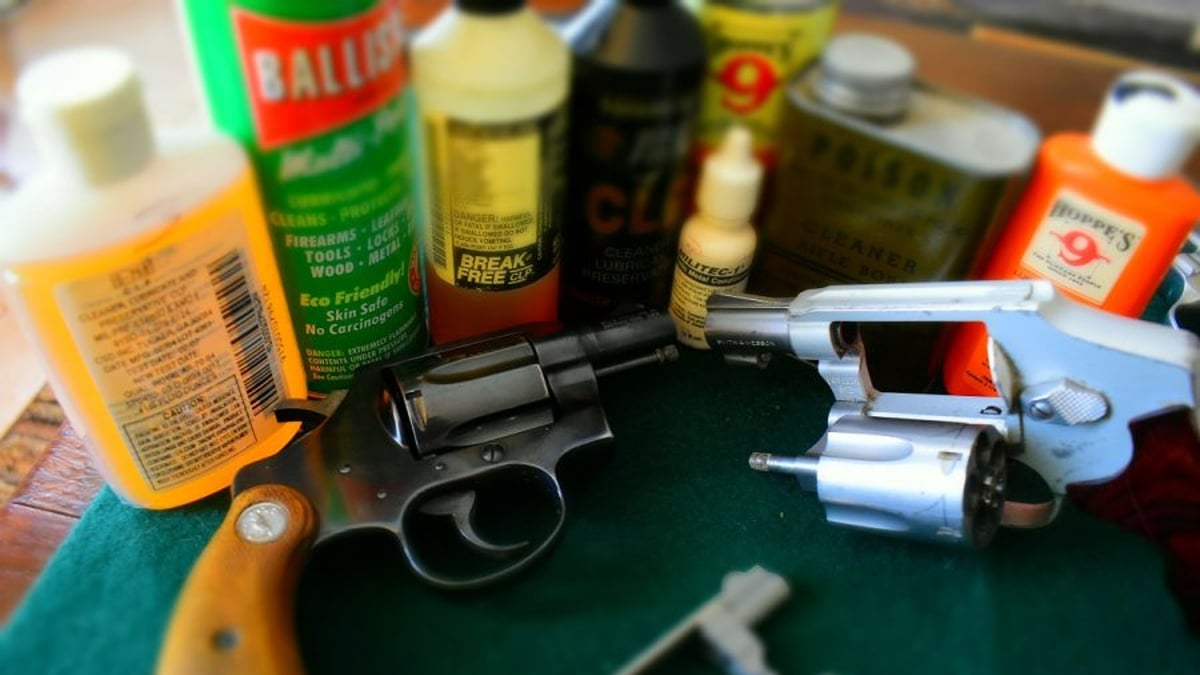
I’m here to talk to you about guns, not sell you someone’s new Wonder Product™. In general, as long as the gun juice you choose is made and marketed specifically for use on firearms, you are good to go.
Keep a good number of cleaning patches and/or rags around for wiping down the gun and swabbing chambers and barrels. You will need a bore snake or cleaning rod for the patches.
Nylon or plastic brushes of all sizes and strengths are your friend, though some folks advocate for copper or brass. Stay away from steel bristles.
Steer away from non-gun miracle products. Be sure to read the manufacturer’s guidelines on their use. With that, if it is billed as a solvent, use it as a solvent. If it is billed as a lubricant/protectant, use it as such. If it is a CLP type of product that “cleans, lubricates, and protects” all in one bottle, great.
3. Apply Your Solvent/CLP of Choice
Once you have your unloaded revolver and solvent/CLP of choice, apply a bit to the barrel bore and cylinder, and knock away the fouling and debris with a brush. Repeat this anywhere you find buildup.

Wipe away the accumulation of schmutz with a rag or cloth that is at least less dirty than the gun you are working with. This is why my wife has never had to throw away old socks, T-shirts, or drawers of mine so far this century.
Use a brush to break up buildup with the solvent.
4. Clean the Barrel (If Needed)
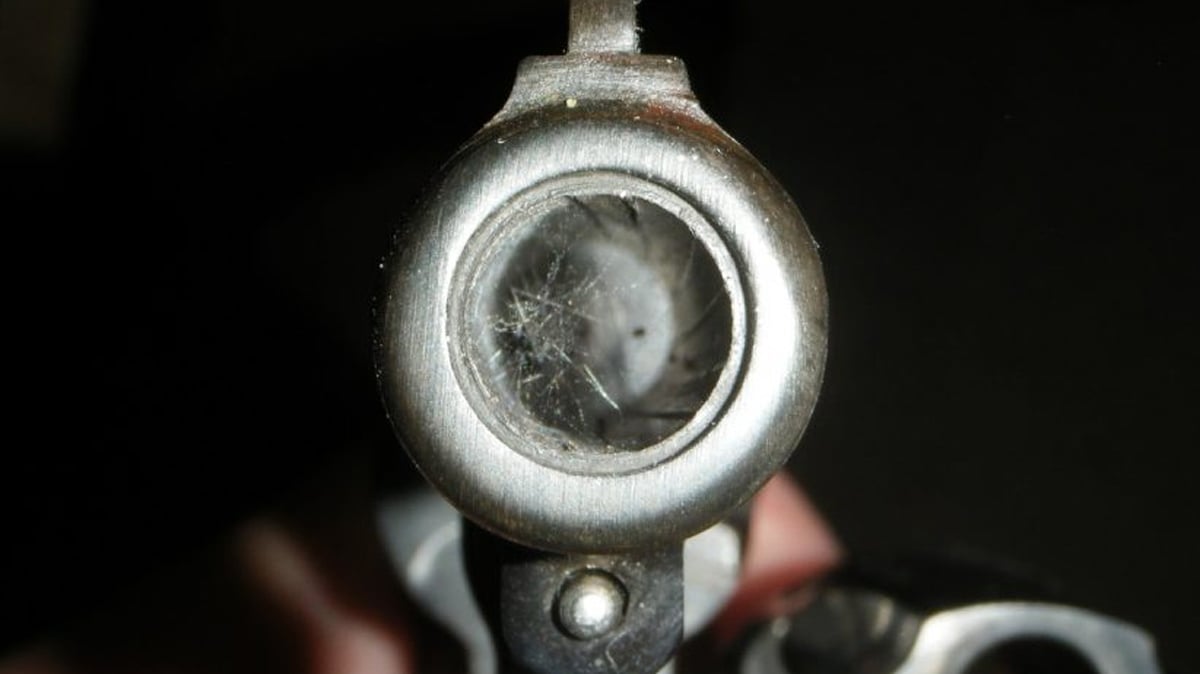
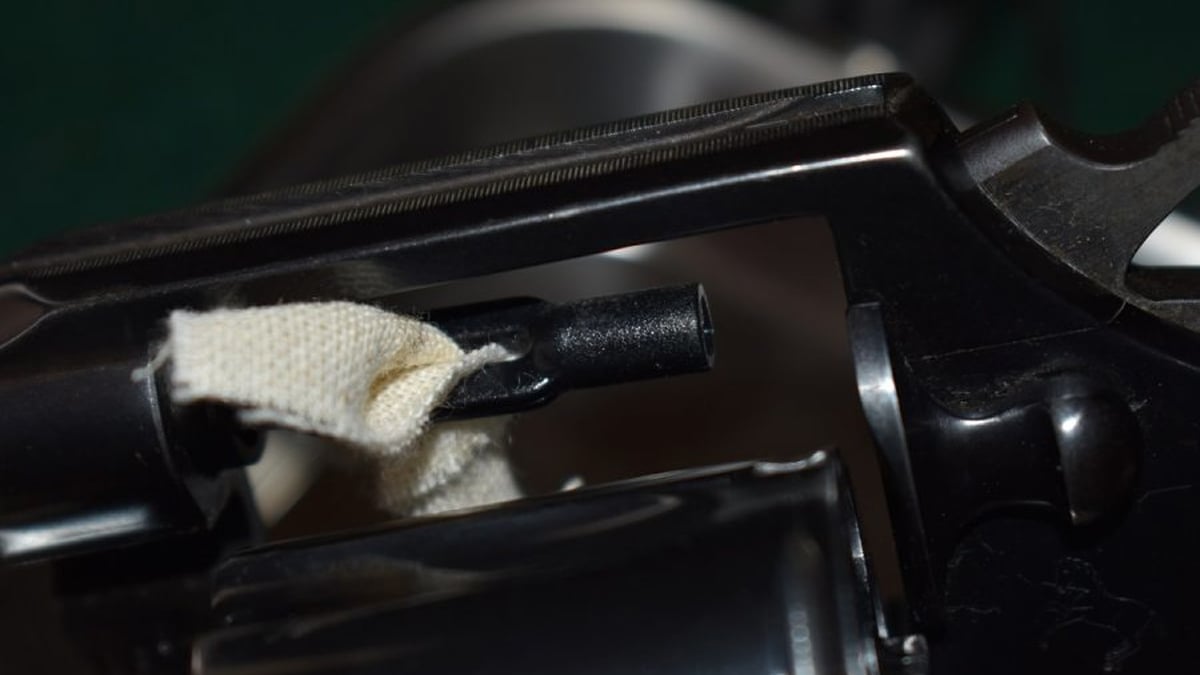
Clean the barrel by running a patch soaked with solvent from the muzzle to the cylinder. Follow that with clean patches until they come out clean.
When it comes to the barrel, some purists will argue over unwashed and permanently stained coffee cups that many gun owners overclean their barrels, hitting them both too often and too hard.
Related: How to Hold a Revolver for Best Accuracy
As a rule of thumb, unless I plan to store the gun and not reuse it anytime soon, the barrel can be skipped until next time, so long as you can still see rifling when holding it up to the light or if using a bore light. For those who are pickier, clean that barrel every time you clean the gun. Just don’t overdo it or mar the rifling.


Be sure to safely dispose of dirty patches and clean your brushes after each use, and don’t be too cheap to buy new ones.
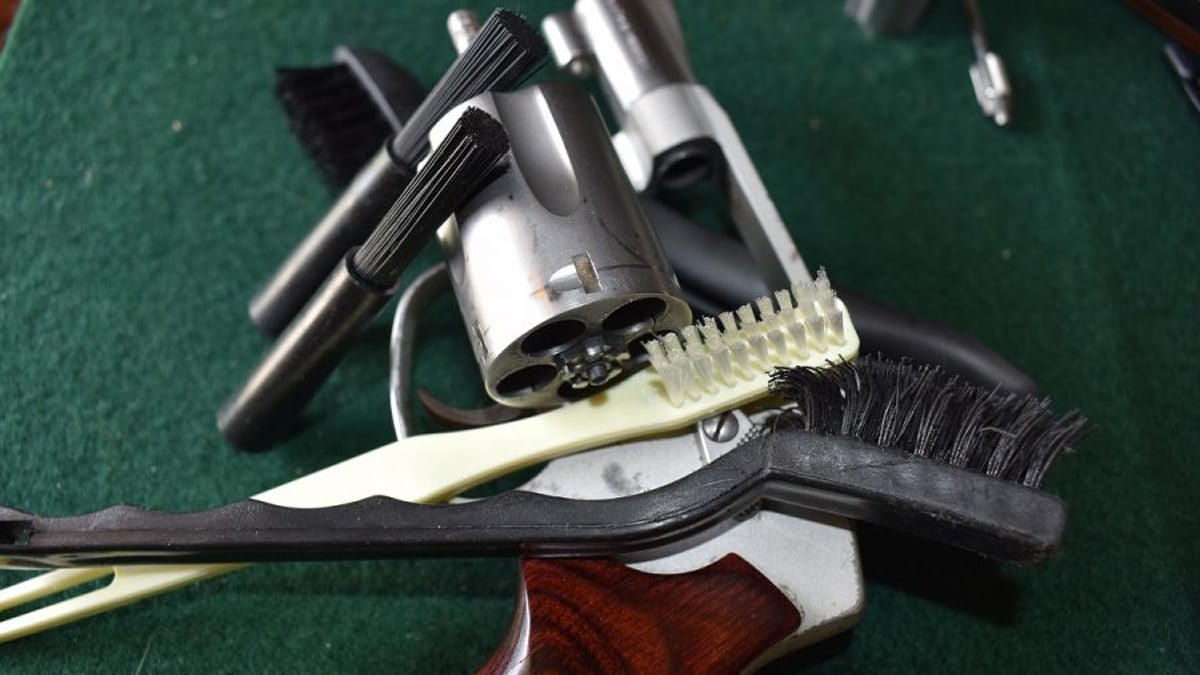
5. Clean & Inspect the Cylinder

Pay close attention to the revolver's cylinder and make sure you have cleaned out each chamber in turn. Be sure to clear under the ejector star as well as its rod.
Once you have accomplished the bulk of your cleaning, move on to inspecting the revolver to make sure you don’t have any festering wounds that can ruin your day in the future. This includes checking that the cylinder-to-barrel gap is not exaggerated and that the forcing cone is not cracked.
While this area doesn’t have to be solid, it should still be tight enough that you would have a hard time sliding even a fortune cookie paper through it.
6. Check Your Revolver’s Timing
Check the timing of the cylinder to make sure the chambers line up with the barrel properly. Timing is the synchronized movement of the cylinder and other parts during the firing process that ensures the cylinder, chambers, and barrel are properly aligned and locked when the bullet is fired.
One sign that your timing is right is that the cylinder rotates smoothly and then locks before the hammer drops when slowly pulling the trigger.
If you find that your revolver is shaving lots of lead at the range — you will see little specks of metal all over your arms and clothes — this is a warning sign. If you have lots of revolvers in the same caliber, buying a $20 range rod to ensure this alignment may be a good investment.

Check the lockup of the cylinder when secured in the frame by trying to rotate it and push it back and forth inside the frame. While a tiny amount of play is acceptable, a lot of movement is not.
On swing-out cylinder revolvers, with the cylinder kicked out, spin it slowly while watching to make sure the crane and ejector rod are still straight.
7. Oil & Reinspect

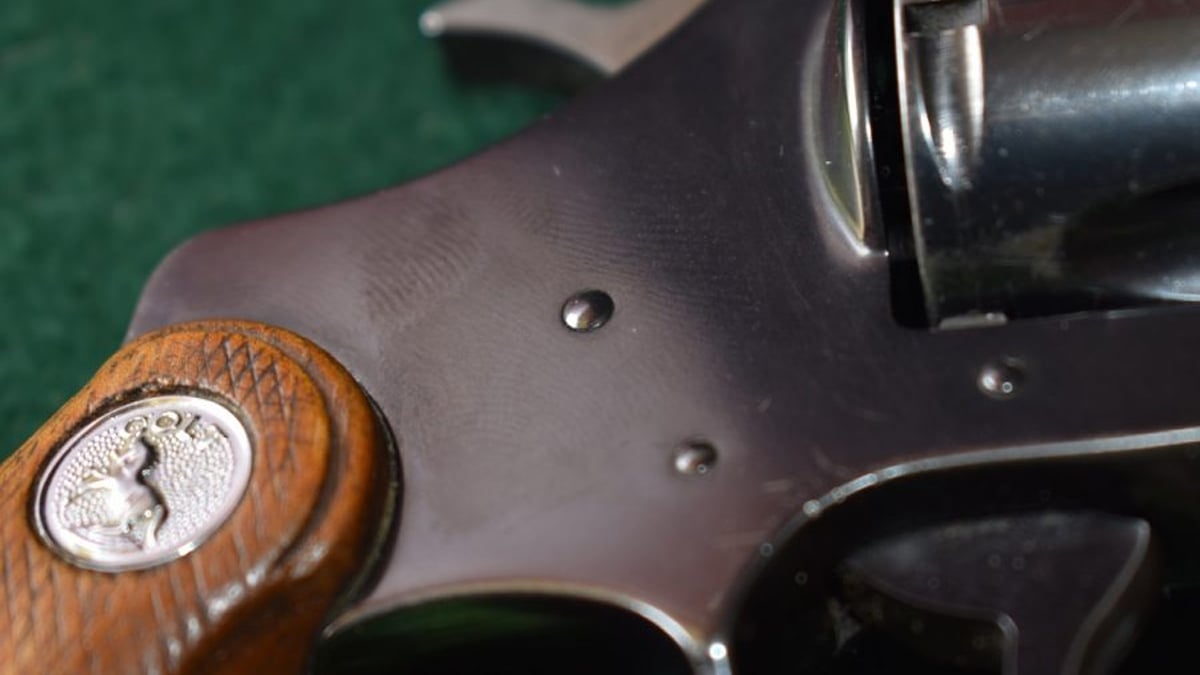
Finally, check that your plate and grip screws are tight. With the cleaning and inspection complete, lubricate your revolver.
The idea of “less is more” holds true for lubricating. Lightly apply the lubricant/CLP strategically to areas where you have noticed wear and to dynamic working parts that move a lot with metal-on-metal contact. Stay away from soaking the gun to the extent that you see running or dripping lube.
If you are storing a gun while not in use, do so safely with the revolver unloaded and the action immobilized. Single-action revolvers, where the cylinder is easily removed, can be stored in two parts, but do not let them get lost and separated.
Secure Your Gun!

If it is not loaded and accessible for home or personal defense, or otherwise in use, remember to secure any firearm.
If you are storing a firearm not in use for an extended period, especially in a safe, avoid the impulse to swaddle it in a gun sock, zipper case, mummy wrap, and the like, as these can often trap or hold moisture.
Related: Intro to Safe and Proper Firearms Storage
I’ve seen fine classics in old pleather that were stored for decades in the back of humid closets. This led only to shocked looks when the owners saw that the finishes were nothing but rust.
Talk about avoidable tears.
Speaking of rust, before you store that finely blued revolver, give it one final rubdown with a rag to remove any lingering fingerprints. These dirty human oils, if left behind on a gun for months or years, can eat away at the bluing.
Once cleaned and put away, be sure to revisit these guns regularly to inspect them, check for issues, and reapply lubricant as needed.
There are plenty of firearms still floating around that are over a century old and still in excellent working condition. This came from proper care and storage, not by accident. Do your part to maintain your revolver, and it can easily do the same.