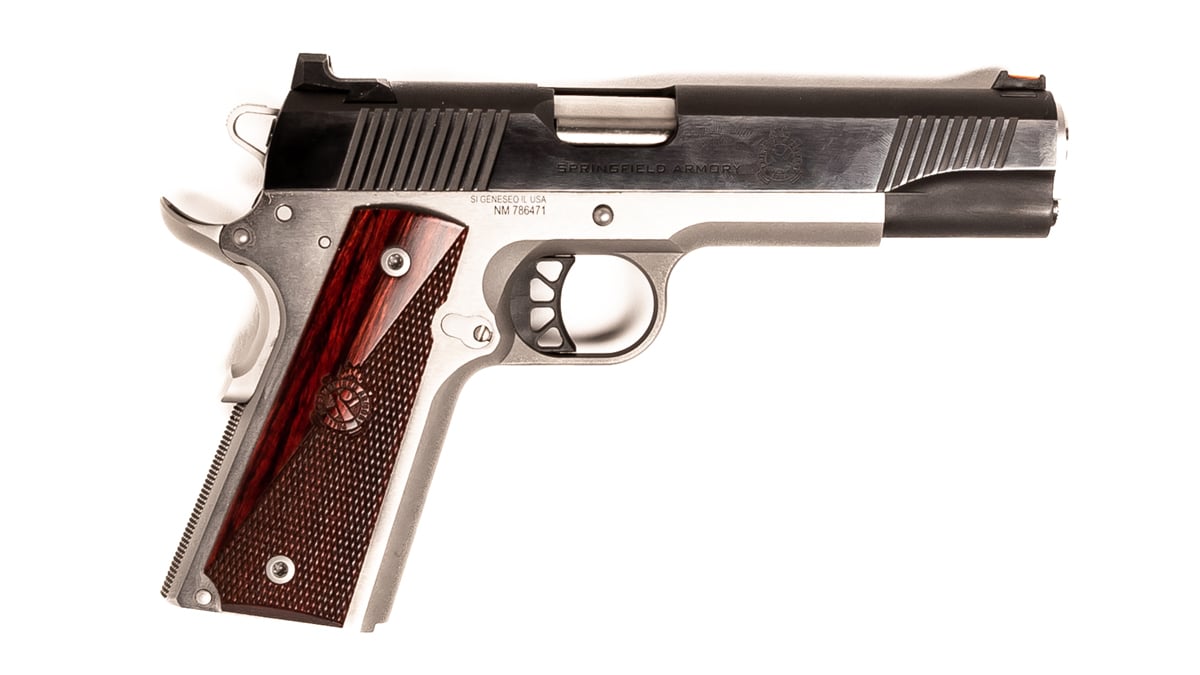
Clearing the Handgun
It should go without saying that the first step in any firearm maintenance process is to remove the magazine and make sure the firearm is clear of ammunition.
Related: Pistol Cleaning Tips & Tricks
Step 1: Releasing Spring Tension on the Barrel Bushing
The first step with the classic 1911 begins by rotating the barrel bushing at the end of the slide as you press down on the spring guide cap.

The bushing holds the recoil spring end cap under slide spring pressure.
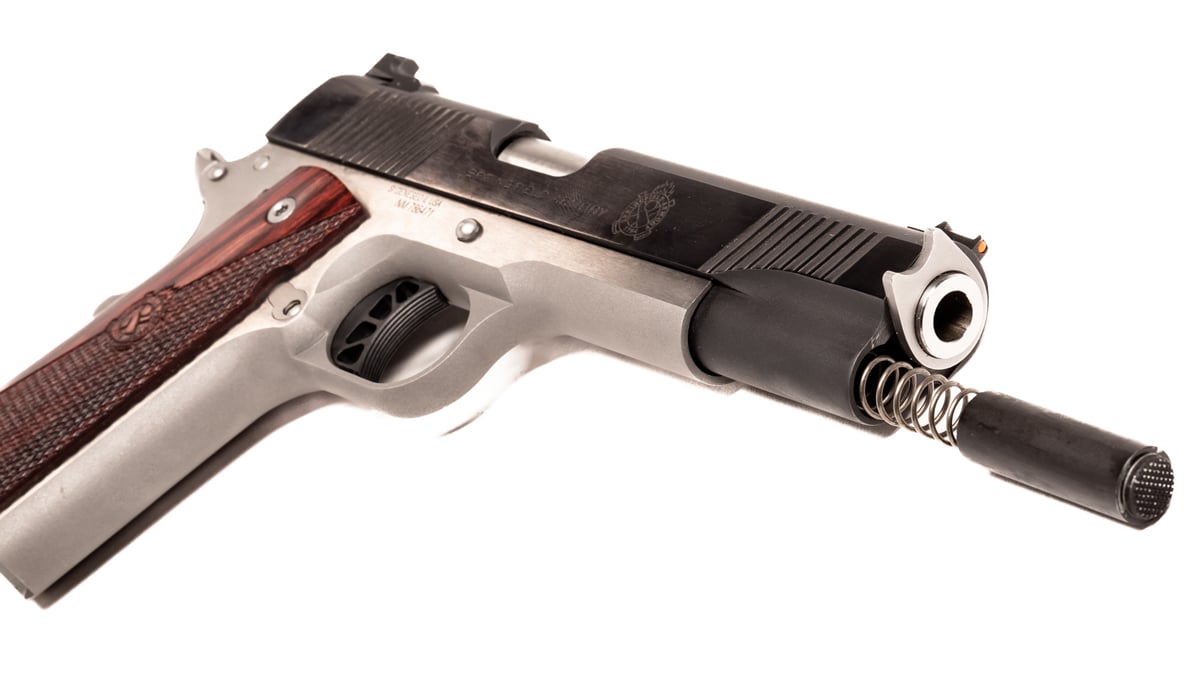
Much like the infamous AR detent spring, the spring cap easily can be launched across the room as soon as the pressure is relieved, so you have to be careful to slowly release the tension.
Once rotated, the spring cap can be removed from the end, and the slide will no longer be under spring tension, making it easy to move into place for the next step in the process.

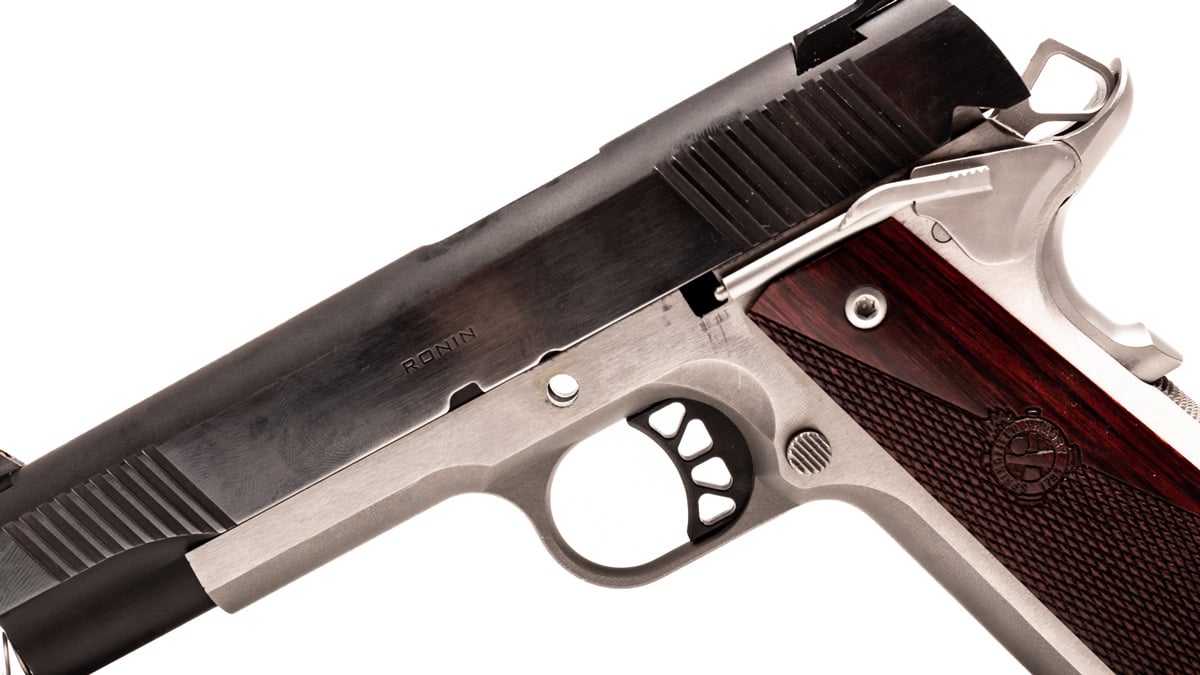
Step 2: Slide Takedown Pin
Before sliding the frame back and forth, you must find the takedown cut on the slide behind the slide stop release cut.

Once you have located the takedown cut, you will index the slide to sit in alignment with the extension in the takedown lever.

Once aligned, the takedown pin can be pushed through with pressure from the backside, popping the protrusion through the cutout in the frame until the lever can be pulled all the way through.
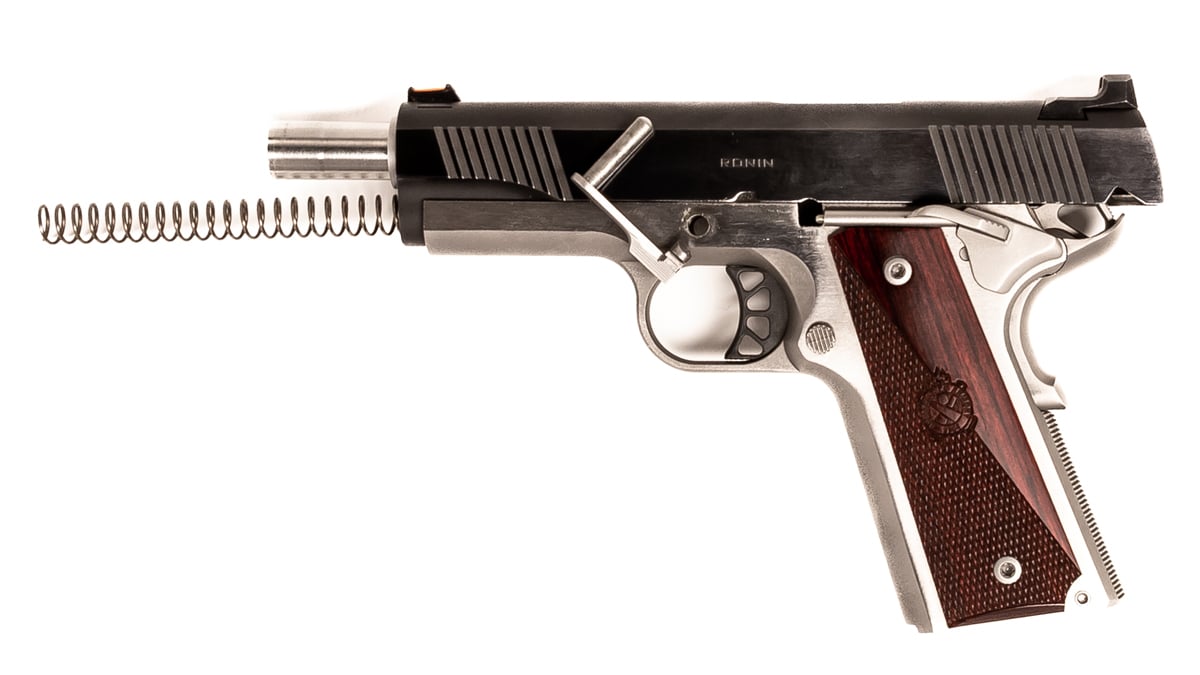
Step 3: Separating the Slide from the Frame
Once the takedown pin is removed from the handgun, this will sever the connection between the slide and the frame, and the parts can be separated.

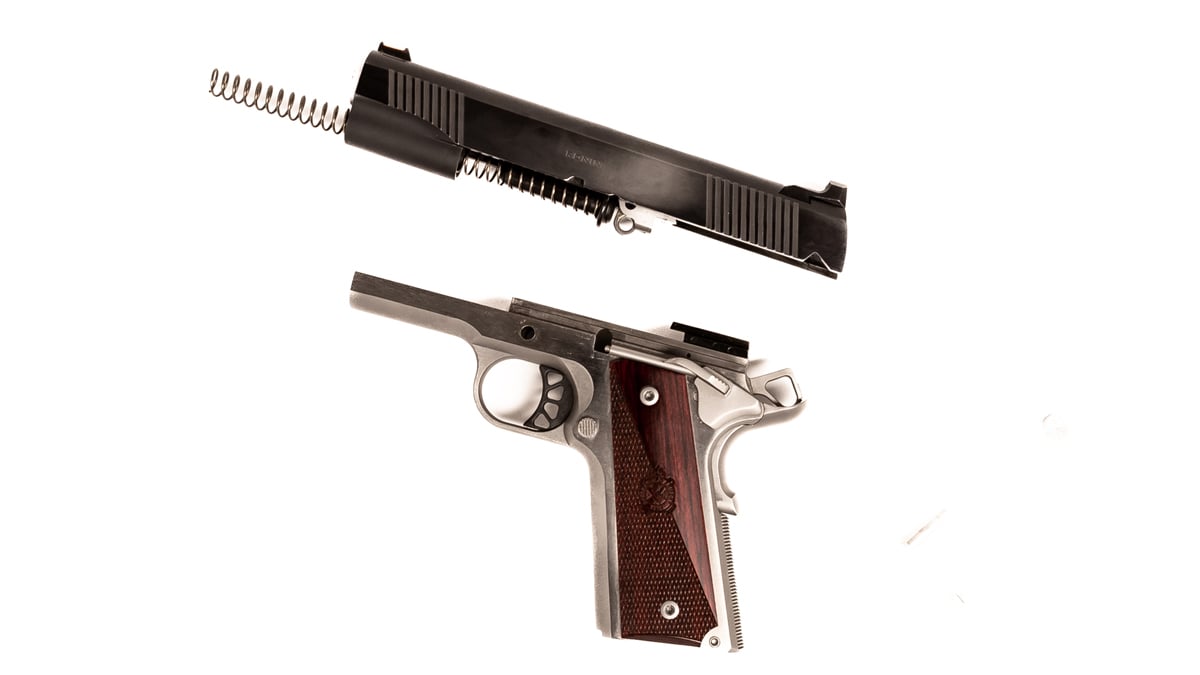
Step 4: Breaking Down the Slide Components
The next step is to remove the spring from the slide, pulling it back toward the rear of the slide until it is free.

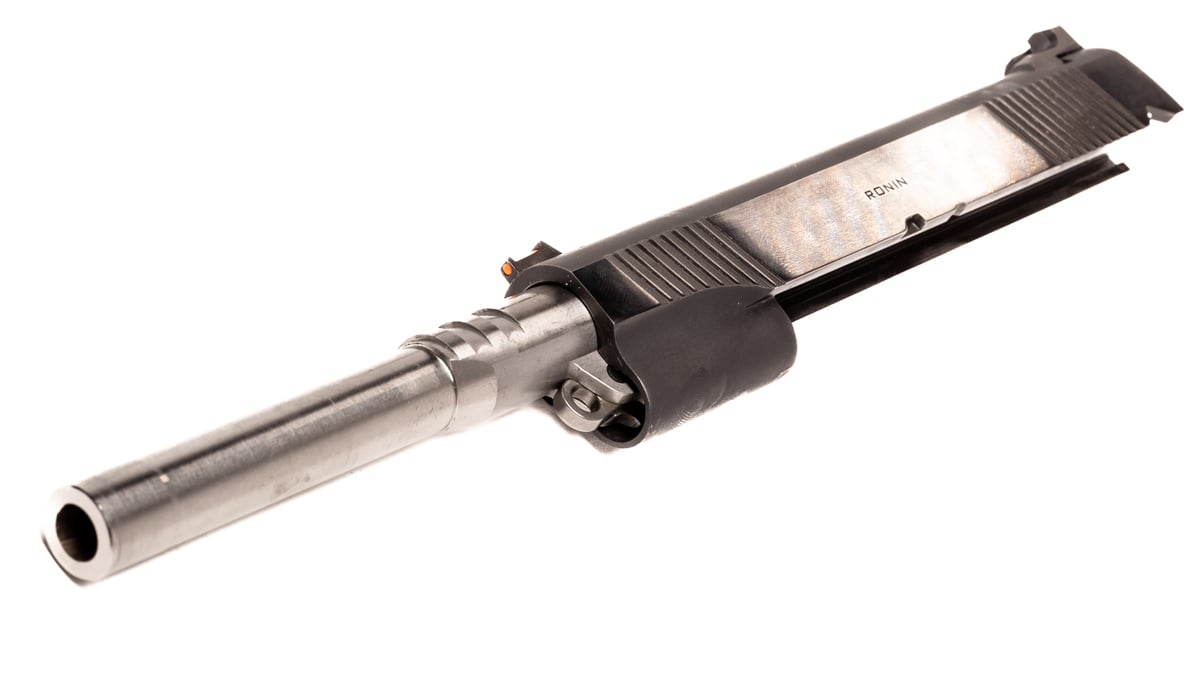
Then you will rotate the barrel bushing to the notch to pull it out of the front, in order to free up the barrel for removal.
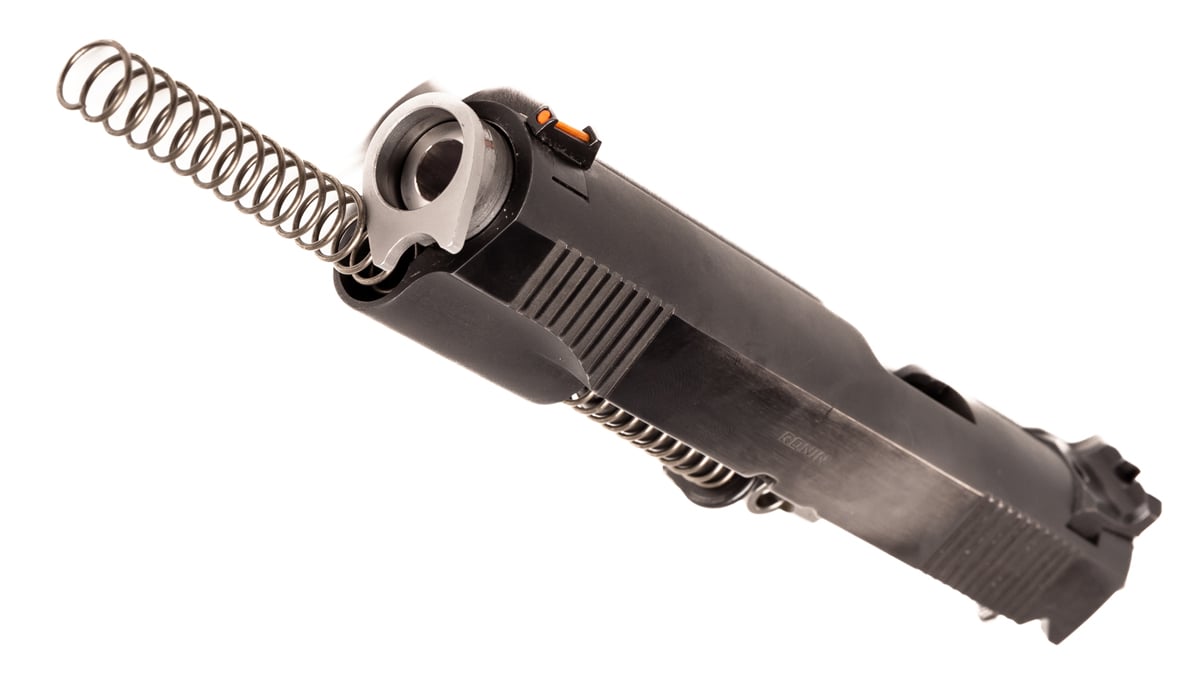

Once the barrel bushing is removed, the 1911 barrel will need to be pulled out of the front of the slide. This is due to the 1911’s non-tilting barrel design, which differs from most modern handguns.
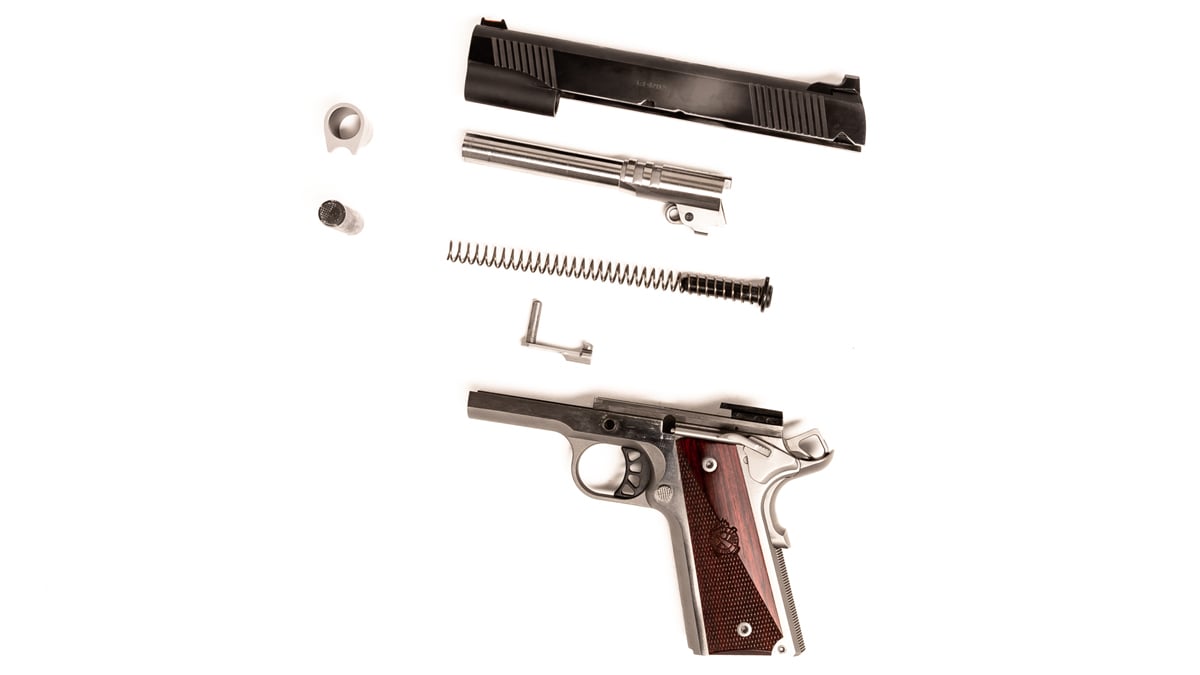
Step 5: Complete Disassembly
At this point you have completely disassembled the slide and major components, and they can be separated for cleaning and lubrication.
Step 6: Maintaining and Lubrication
Firearms should be cleaned, lubricated, and serviced to increase their life and performance. If the firearm is dirty, it is always a good practice to apply a solvent and wipe down the parts to remove debris and any carbon buildup. Once the parts are wiped down, the individual parts should be lubricated to ensure proper and reliable function. There are many opinions in the firearm community that surround the amount of lubricant that should be used, I am a firm believer in being fairly liberal with its application.
A firearm that is commonly used should be lubricated more frequently than just when it gets a full deep cleaning. Especially in training, competition shooting, or practice, there is no need to deep clean the firearm after every course of fire, but it is important to apply lubricant liberally throughout frequent use.
Lubrication should be focused on areas that incur high friction.
Some major places include: the rails on the inside of the slide that coincide with frame, the firing pin housing that runs along the rear of the frame, and the chamber and barrel around the barrel bushing. Lubricating all of these high-traffic areas will help ensure proper function.
Reassembly
Once the firearm is properly lubricated and cleaned, it is time to reverse the process to put the 1911 back together.
Step 1: Putting the Slide Components Back Together
The first step is to slide the barrel back into the front of the slide and properly index the chamber and lever that is captured by the takedown pin to hold the frame and slide together.
When properly placed, the spring can be inserted, and the guide rod can be placed against the takedown pin hinge.
Step 2: Putting the Slide on the Frame
At this point, I find it easiest to hold the slide upside down as you slide the frame on, allowing you to maintain alignment of the hinge, in order to line it up with the takedown pin holes in the frame.
With some struggling, maybe even some cursing, you should have moved the slide on the frame to line up the takedown cut in the slide, as well as aligning the holes in the frame with the hinge on the barrel.
Step 3: Re-inserting the Takedown Pin
The next part is the insertion of the takedown pin, which leads to a common mistake with the 1911. Most frames feature a scratch along the upward path of the takedown lever, affectionately deemed the “stupid scratch.”

This scratch occurs when the takedown lever is pressed and slid up the slide, instead of being pushed directly into the frame. To avoid making this mistake, you must keep upward pressure on the takedown lever to keep it pressed against the spring detent that holds the pin in place.
Step 4: Placing the Barrel Bushing for Spring Tension
Once the finer details have been attended to, the handgun is almost complete. The barrel bushing can be re-inserted and rotated to the takedown side. Then the spring guide can be replaced and pressed into the slide, thus re-establishing the tension of the slide, and the bushing can be rotated to hold it all in place.